Return
Email
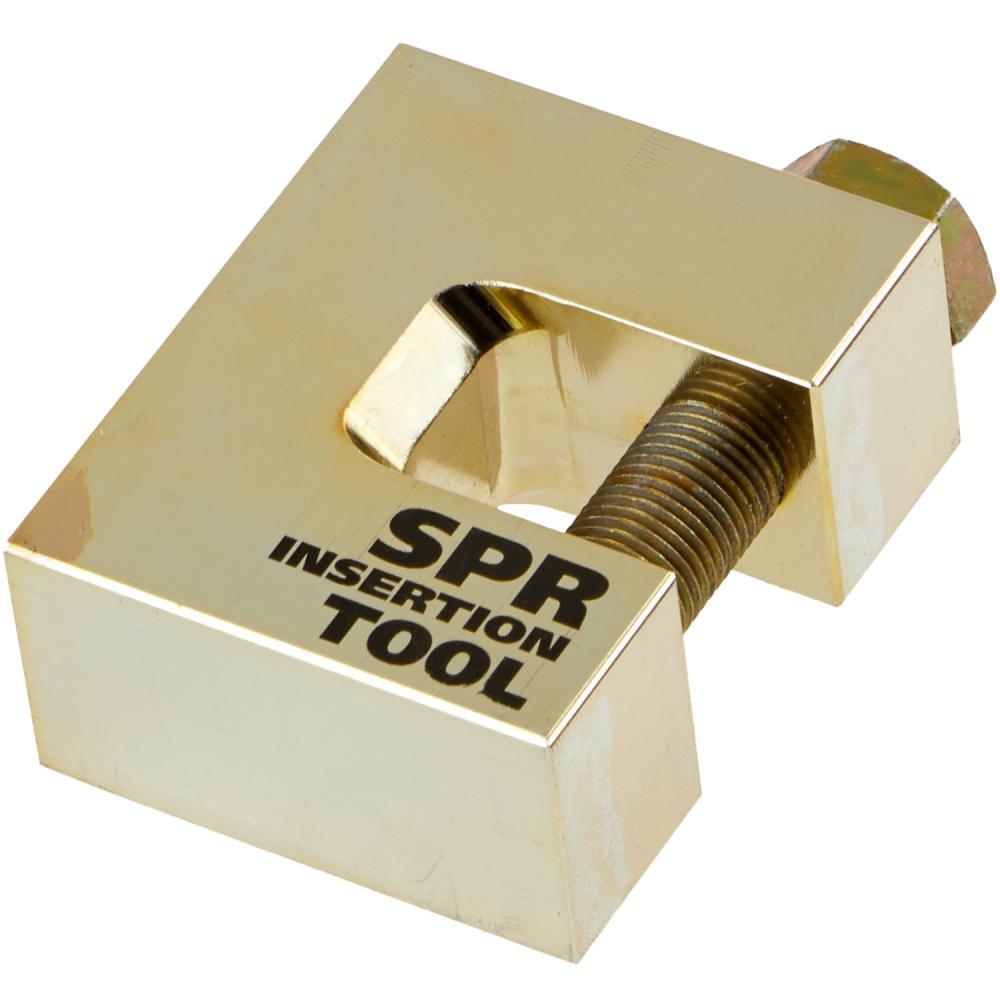
SPR Insertion ToolItem is usually in stock, but we'll be in touch if there's a problem
by Milton


SPR Insertion ToolItem is usually in stock, but we'll be in touch if there's a problem
by Milton
Call for Price
Quantity:
Add To Cart
Add To Estimate
Add To Wishlist
Compare Item
SPR Insertion ToolItem is usually in stock, but we'll be in touch if there's a problem
by Milton
Price:
Call for Price
Part Number: 505CKHX
UPC: 00717290004310
Vendor Item Number: STC21960
Call for Price
Quantity:
Add To Cart
Add To Estimate
Add To Wishlist
Compare Item
Technical Details
Industrial Category:
Fleet and Vehicle Maintenance
Industrial Subcategory:
Automotive Maintenance Tools
Industrial Subtype:
Automotive Specialized Tools
ACES Applications:
Yes
Brand Label:
Milton
Container Type:
BOX
Item Quantity:
1
Item Quantity Size UOM:
EA
MFG Brand Name:
Steck Manufacturing by Milton
Minimum Order Quantity UOM:
EA
Order Minimum:
1
Package Barcode Characters:
717290004310
Package Height inches:
4
Package Length inches:
12
Package Quantity:
1
Package Weight lbs:
2.5
Package Width inches:
10
Packaging Level:
EACH
UPC Code:
717290004310
Warranty Time:
1 YR
Manufactured By:
Milton
+
Additional Information
Product Overview
Steckâ??s new SPR Insertion Tool is a high-grade, hardened steel frame, that uses a 1/2â? 2 grade 8 hex bolt, with a magnetic end and center recess to hold the replacement SPR, while inserting it with your 3/4â? or 19mm socket using your 1/2â? impact wrench. 1) Technician locates a spot on the flange area, next to the SPR you just removed (after you have replaced the door skin or quarter panel. 2) Insert the new SPR on the magnetic end of the bolt, hand tighten to the flange area keeping the body of the tool against the door flange. 3) Install your 3/4â? or 19mm socket on your 1/2â? impact wrench and engage. Within 3-5 seconds you will see the bottom of the screw flush with the door flange. 4) Replace the required SPRâ??s and re-install trim panel according to manufactur
